FAB Plugin
The easiest way to install PCGEx is to get it from FAB. (it’s free!)
The FAB release matches the
FAB-branches on github, due to the submission & validation process they will always be out of date compared to github’ latest.
Build from Source
If building from source, make sure your project & computer is set-up for C++ dev. See Epic Documentation on the topic.
Cloning & Build using Git
The best way is to clone the repository to a submodule; that way you can contribute pull requests if you want.
> cd YourProject
> git submodule add https://github.com/Nebukam/PCGExtendedToolkit Plugins/PCGExtendedToolkit
> git add ../.gitmodules
> git commit
Install from the Source’ ZIP
Alternatively you can download the ZIP of this repo and place it in YourProject/Plugins/PCGExtendedToolkit
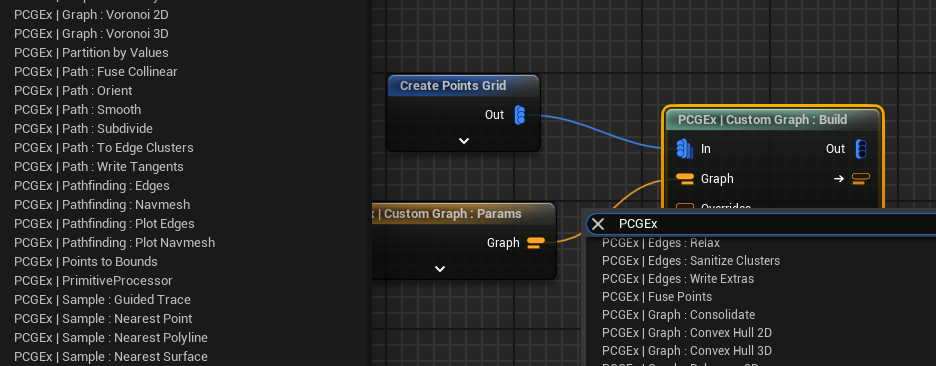
Finding Nodes
Once the plugin is installed and compiled, nodes are available in any PCG Graph along with vanilla nodes. You can either find them in the explorer on the left, or in the list when right-clicking any empty space in the graph.
All PCGEx nodes are prefixed with
PCGEx |– which is a bit annoying at first, but quickly comes in handy to ensure nodes are clearly identifiable.